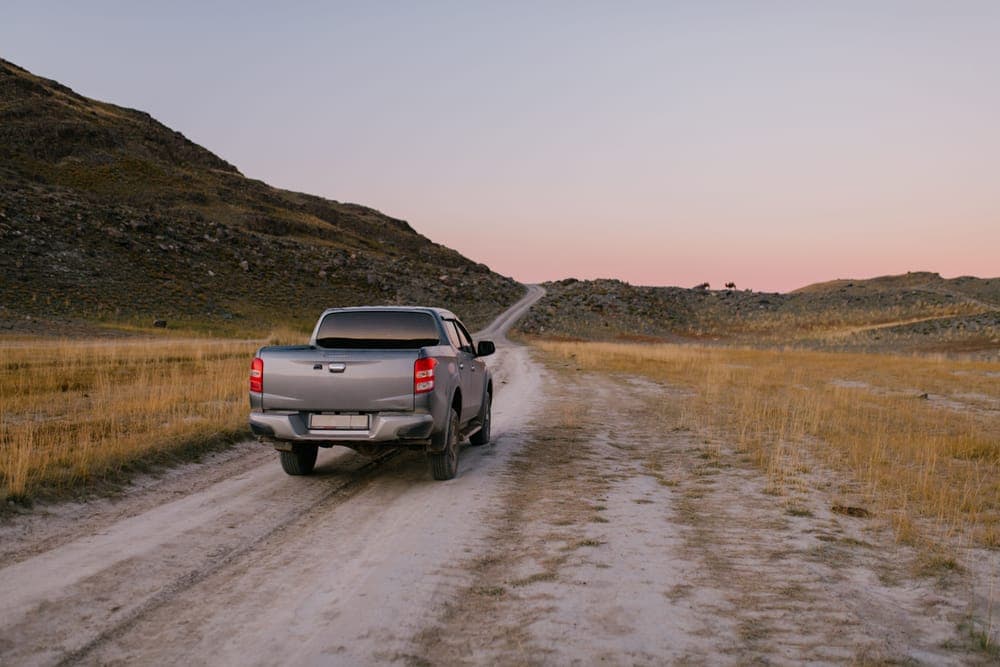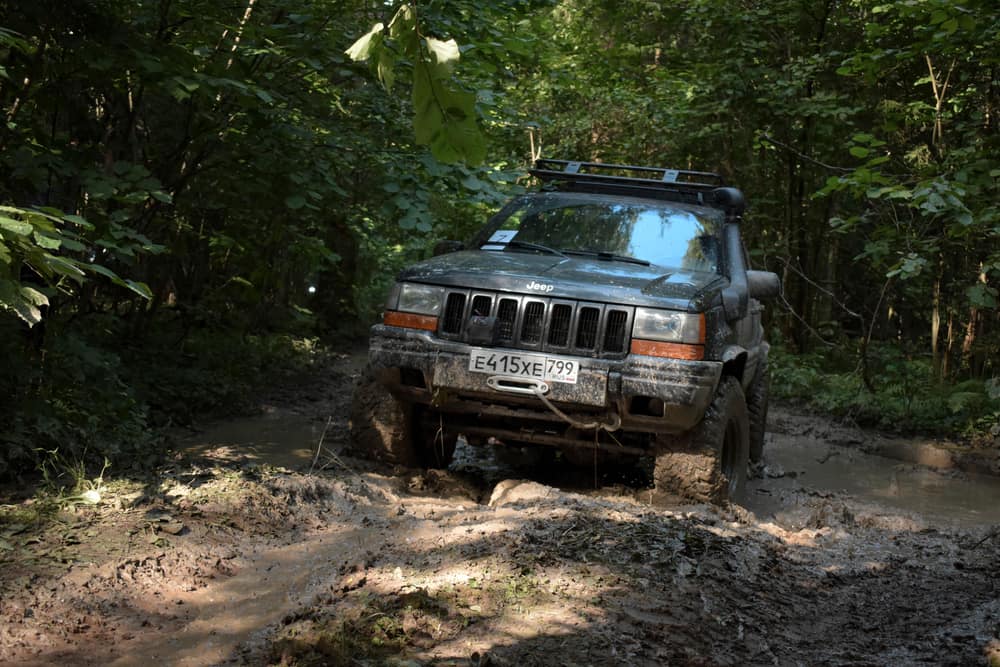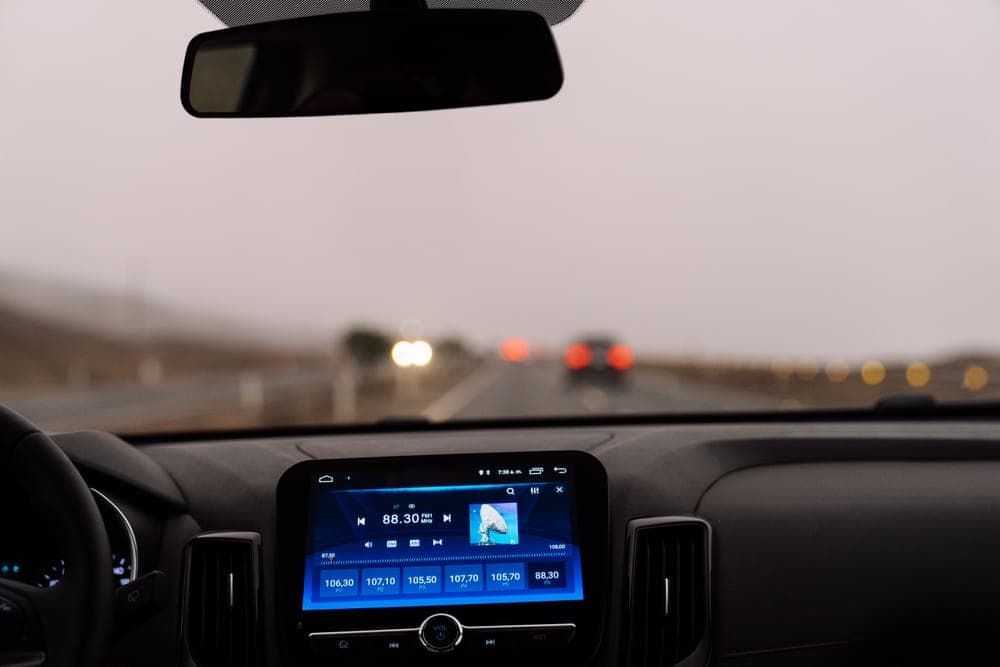
A GMRS mobile is the biggest single upgrade for a truck, Jeep or SUV that needs to reach the rig ahead, the camp or the house across the ranch. It is also only as good as its install. A 50 W radio with a poor ground and an antenna tucked low behind the cab gives away much of what you paid for. This guide walks through the whole job in the order you do it, using the Midland MXT575 install as the worked example because its manual lays out every step, and pulling in other makers' instructions wherever they differ. A GMRS radio car mount comes down to three pieces: the radio bracket, the mic holder and the antenna mount. Wire all of it the way your own radio's manual says. If a step here and your manual disagree, the manual wins.
Still choosing the radio? Our best GMRS mobile radios ranking covers the field, and the MXT115 vs MXT275 vs MXT575 comparison sorts out Midland's three MicroMobiles. The road trips hub has everything else for the vehicle.
Before you start: license, parts and polarity
The license. You can install a GMRS radio without one, but you can't transmit. "An FCC license is required to operate GMRS system" ( FCC GMRS page). It covers your immediate family, runs ten years and costs $35 to apply for, per the FCC's fee table (checked September 2026). Our GMRS license guide explains who it covers.
What's in the box. Midland lists the MXT575 package as the radio, microphone, "Magnet Mount with Cable," antenna, power cord, owner's manual and quick start guide (MXT575 page). Its spec sheet adds the detail that matters later: the antenna is the MXTA51 "NMO Stock Antenna & Large Magnetic Base," with a metallic plate for the magnetic mount and a microphone holder (MXT575 spec sheet). Other radios ship with less. BTECH's GMRS-50V2 comes with a mic, power cable, bracket, screws and a fuse, but no antenna (BTECH GMRS-50V2 page). Check your box before you start drilling.
Polarity. Midland says the MXT575 "may be installed in any 12-volt negative ground system vehicle," that some older vehicles and some newer large trucks may be positive ground, and that "generally, you have a negative-ground system if the negative (-) battery terminal is connected to the motor block" (MXT575 manual). If you can't tell, stop and ask a dealer or installer. The same manual says to read all the instructions first, follow the safety precautions in your vehicle's service manual, and disconnect the negative battery cable before you install, then reconnect it when you're done.
Mounting the radio and mic
Midland designed the MXT575 "to be installed under the dash or vertically on the center console," and its manual gives two rules for the spot: it must not "impair visibility or interfere with driving," and it must leave room to route the power lead, antenna cable and any external speaker. It also warns that "extreme care should be exercised when drilling into the dash" to avoid damaging ignition, cruise control, instrument and accessory wiring. I'd add one more rule of my own: check your vehicle's service manual for airbag locations and keep the radio, the mic and every cable clear of them.
The bracket itself is simple. Per the manual:
- Hold the bracket in place as a template and mark each screw hole.
- Attach it with the supplied sheet-metal screws. Tighten them securely, but don't over-tighten.
- Slide the radio in and make sure it locks, "so it does not shift while the vehicle is in motion."
Hideaway radios like the MXT575, MXT275 and BTECH GMRS-20V2 put the controls on the microphone, so the radio body can go under a seat or inside a console while only the mic lives on the dash. That frees dash space in a Jeep or side-by-side, but it makes cable length the limiting factor: measure from where the body will sit to the mic holder, the power source and the antenna entry point before you commit. Put the mic holder where your hand finds it without your eyes leaving the road, and keep the coiled cord out of the gear lever and the steering wheel.
Power: 12V plug, fuse block or battery
This is where installs go wrong, and where you should follow your radio's manual to the letter. Makers do not all say the same thing:
| Radio | What the maker says about power |
|---|---|
| Midland MXT275 (15 W) | Ships with a cigarette-lighter adapter; for a hard-wired install, cut the cord just after the adapter and wire the red lead (with its in-line fuse holder) to the fuse block or the battery positive |
| Midland MXT575 (50 W) | Red lead with in-line fuse holder to the fuse block or directly to the battery positive post; 13.8 VDC nominal |
| Midland MXT115P PRO (15 W) | 12V power cord with DC vehicle adapter in the box |
| BTECH GMRS-20V2 (20 W) | Ships with a 12V cigarette-plug cable |
| BTECH GMRS-50V2 (50 W) | "Directly to a proper 13.8V battery or fuse block setup (not a cigarette outlet)"; 13.8 V DC ±15%, with 20 A peak |
Sources: MXT275 manual, MXT575 manual, MXT115P PRO page, GMRS-20V2 page, GMRS-50V2 page.
The 12V socket is the easy route when the maker supplies a plug for it. It moves between vehicles and needs no tools. But it's only an option when the maker supplies or approves it. If your radio's maker says not to use a cigarette outlet, as BTECH does for the GMRS-50V2, don't.
The fuse block or an accessory circuit is what Midland calls "usually the most convenient connection point." The manuals add a useful option: connect the positive lead to the accessory terminal on the fuse block or ignition switch, "so the radio automatically turns off when the ignition is turned off." That's the setup I'd pick for a daily driver, because nobody drains the battery by leaving the radio on overnight.
Direct to the battery keeps the radio on with the key out, which suits a truck that doubles as a base at camp. It also means the radio can run the battery down if you forget it, so turn it off when you walk away.
Antenna mounts: magnet, NMO or bracket
The antenna does more for your reach than the radio's wattage. BTECH's own range note starts there: "Range depends heavily on antenna choice, antenna height, terrain, obstructions, installation quality, and whether you are using simplex or a repeater" ( BTECH GMRS-50V2 page). There are three ways to hold it on the vehicle.
Magnet mount. No drilling. The base sits on a steel roof and the cable comes in through a door seal. Midland includes one with the MXT575 (the MXTA51 NMO antenna on a large magnetic base), and because that antenna is NMO, an NMO whip such as Midland's MXTA26 or MXTA25 can go on the same base later; confirm the fit on your own radio before you buy. For radios with an SO-239 jack, the Nagoya UT-72G is a complete magnet-mount kit with 13 ft of coax and a PL-259 plug (UT-72G page). The limits: a magnet needs steel, so it won't hold on an aluminum or fiberglass body or a soft top, and a low branch can knock it off on the trail.
Drilled NMO mount. A hole through the roof with an NMO mount in it is the permanent, cleanest install, with the whole roof as the ground plane and the cable hidden under the headliner. Midland gives the mounting hole for its Ghost antenna as "2/3 inches" (MXTA25 page), and its Grand Vista kit uses an NMO adapter "for 1/2-inch hole mounting" (MXAT01VP page), so use the figure for the mount you actually buy. Cobra's CB manual gives the rule that applies to any drilled mount: ensure "a good electrical ground between the coax shield and the vehicle body" and protect that connection from moisture (Cobra 19 MINI manual). A hole in the roof is forever, so if you're not sure, a radio or audio installer does this every day.
Bracket mounts (fender, hood channel, mirror, roll bar, bull bar). The answer for Jeeps with soft tops, aluminum bodies and anything you don't want to drill. The trade-off is less metal under the antenna. Midland's farm bundles, for example, pair its Ghost antenna with a roll bar and mirror bracket and a low-profile cable. On a bull bar or post, an antenna with a built-in counterpoise, like the Nagoya NMO-HDC, needs no ground plane at all (NMO-HDC page).
Then pick the antenna itself. A tall whip reaches farther and snags more; a stub survives trails and garages and gives up height. Midland's MXTA26 is a 32-inch, 6 dB NMO whip, and its MXTA25 Ghost is a 3.5-inch, 3 dB NMO stub; Midland lists both as fitting the MXT575 (MXTA26 page, MXTA25 page). Our best GMRS antennas ranks vehicle, handheld and base antennas by job.
Placement and the ground plane
Midland's manual gives the placement rules in plain words (MXT575 manual):
- "Mount the antenna as high on the vehicle as possible. The higher the better."
- "If possible, mount the antenna in the center of whatever surface you choose."
- "Metal surfaces covered by fiberglass or vinyl may affect radio range. Avoid these locations."
- Make sure the spot is clean and dry, and that the 19.7 ft (6 m) cable will reach the radio.
The reason for "center of the roof" is the ground plane: the sheet of metal under the antenna that the antenna works against. Midland's FAQ says all its current antennas "require a ground plane to perform as expected," that the minimum "is considered a 1/2 wavelength across," or about 12 inches for GMRS, and that "steel or aluminum can serve as a ground plane and it does not need to be a continuous plane" ( MXTA25 FAQ). Cobra says the same for CB: mount where there is "a maximum of metallic surface," because "a poor ground plane will result in reduced transmission effectiveness." A roof center gives you the most metal and the most height at once. A bumper corner gives you neither.
Placement is also about people. Midland's RF-exposure notes ask for a minimum separation between the antenna and people while you transmit: 16 inches (40 cm) in the MXT575 manual and 33.54 inches (86 cm) in the MXT275 manual. The MXT575 manual's note also says to "use an antenna with maximum gain of 2.1 dBi including all path losses," which matches the antenna in the box. Midland also sells higher-gain whips it lists for the MXT575, so read that section before you fit one. A roof-center antenna keeps passengers and anyone standing beside the truck farthest away.
Our picks for this job
The radio and two antennas for its NMO base
The radio this guide walks through, plus the two ways to go with an NMO antenna: a tall whip for open country and a short stub for trails and garages. The radio needs a GMRS license; the antennas need an NMO mount, which the MXT575's magnetic base provides.
 Stock photo
Best 50 W radio for a clean dash
Midland MXT575 MicroMobile (50 W)
The worked example above: 50 W, a hideaway body with every control on the mic, and a magnet-mount NMO antenna in the box. Midland states no water rating, so keep it inside the cab. Needs a GMRS license.
Check price · Amazon#ad · Price set by Amazon · How we make money for the link to Midland MXT575 MicroMobile (50 W)
 Stock photo
Best everyday roof whip for Midland mobiles
Midland MXTA26 6 dB Whip Antenna
The reach upgrade: a 32-inch, 6 dB stainless whip that Midland lists for the MXT575. No mount or cable in the box, so it goes on the included magnet base or an NMO mount; read the manual's RF-exposure note first.
Check price · Amazon#ad · Price set by Amazon · How we make money for the link to Midland MXTA26 6 dB Whip Antenna
- Stock photo
Best for tight trails and low garages
Midland MXTA25 Ghost 3 dB Antenna
The trail and garage antenna: a 3.5-inch Ghost stub on the same NMO fitting. It clears brush and low doors but gives up the height of a real whip.
Check price · Amazon#ad · Price set by Amazon · How we make money for the link to Midland MXTA25 Ghost 3 dB Antenna
Routing the coax
The antenna cable is the part people rush, and a pinched cable quietly cuts your range. Midland's manual covers it in four rules:
- Route the cable through "an accessible entry point, such as a rear door or trunk opening."
- Inside, keep it "away from noise sources, such as the ignition system, gauges, etc."
- "Make use of existing gaskets, grommets and weather stripping to protect the cable along its route."
- Check that the cable length reaches the radio before you mount the antenna.
Cobra adds the warning that applies to every radio: "Be careful not to pinch the cable as this can also reduce your radio's transmission effectiveness." In practice that means no cable crushed in a door hinge, no sharp bends at the connector and no zip ties cinched tight enough to dent it. Keep the coax apart from the power leads where you can. If there's extra length, loop it loosely out of the way rather than cutting it, unless you know how to fit a new connector properly.
Grounding the radio
Two grounds matter in a mobile install, and both come straight from the manuals. The first is the radio's power ground. Midland says to "tightly connect the ground lead (BLACK wire) directly to the vehicle's metal frame. A good direct metal-to-metal ground is essential for optimum performance." Metal-to-metal means bare metal under the ring terminal, not a painted bracket or a plastic panel. The second is the antenna mount's ground, which on a drilled or bracket mount is the connection between the coax shield and the body. Cobra's manual asks for "a good electrical ground" there, protected from moisture. A magnet mount works through the steel roof it sits on.
Check SWR before you trust it
SWR (standing wave ratio) is a number that tells you how well the antenna and its cable match the radio. At 1:1, the antenna takes all the power the radio sends up the coax. As the number climbs, more of that power bounces back toward the radio instead of leaving the antenna. You don't need to understand the physics, only what a good number looks like. The antenna makers in our lineup publish theirs: Nagoya lists "VSWR 1.5 or less" for the UT-72G (UT-72G page), Comet lists 1.5:1 or less for the CA-GMRS (CA-GMRS page), and Rocky Talkie says its Expedition whip runs under 1.5 (Rocky Talkie whip page). A reading near those figures on your vehicle means the install is sound.
How to check it, in general terms:
- Use an SWR meter or antenna analyzer whose stated frequency range covers GMRS (462-467 MHz). A CB radio's built-in SWR meter, like the one on the Cobra 29 LTD, is for tuning that CB's antenna, not a GMRS one.
- Follow the meter's instructions to connect it between the radio and the antenna coax.
- Key up briefly on the channel you'll use most (a main channel from 15 to 22), starting on low power. The rules allow "brief test transmissions" ( 47 CFR 95.1731), and you need your license before you press the button.
- If the reading is high, check the things the manuals flag: the ground plane under the antenna, the metal contact at the mount, and a pinched or kinked cable. If your antenna is adjustable, its own instructions tell you how to tune it. Midland lists its MXTA26 whip as GMRS-tuned at 462 MHz.
Midland MXT575 install, step by step
Here is the whole Midland MXT575 install in order, condensed from Midland's owner's manual and spec sheet. Keep the manual open while you work.
- Confirm your vehicle is 12-volt negative ground, then disconnect the negative battery cable.
- Pick the radio location: under the dash or vertically on the center console, clear of your view, the controls and the airbags.
- Mark and fit the bracket with the supplied screws (secure, not over-tight), then slide the radio in until it locks.
- Fit the microphone holder where your hand finds it easily.
- Set the magnetic NMO antenna base on a clean, dry spot as high and as central on the roof as you can, and route the 19.7 ft cable in through a door or trunk opening along the existing weather stripping, away from the ignition and gauges.
- Connect the red lead (with its in-line fuse holder) to the fuse block, an accessory terminal, or the battery positive post. Connect the black lead tightly to bare metal on the frame.
- Plug the mic's RJ45 connector into the front of the radio and the antenna cable into the rear antenna jack.
- Reconnect the negative battery cable and power up.
- Check SWR, set Hi power (channels 1-7 always stay on Lo), and make a radio check with a partner.
License and first calls
With the radio in, the last steps are the ones that make it useful. Program your group's channel and privacy code, and use a main channel from 15 to 22 for talking to handhelds, because that's where a mobile runs full power (our convoy radio guide explains why). Identify with your FCC call sign at the end of a series of transmissions and every 15 minutes during a long one (47 CFR 95.1751).
Then set your expectations. Midland advertises the MXT575 at "75 Miles MAX" with no obstruction but lists "20-25 Miles" with partial obstruction and "10-15 Miles" with major obstruction (MXT575 spec sheet). Plan on the smaller figures, and on less than that in hills and timber. Our GMRS radio range guide explains what changes the number, and GMRS handheld vs mobile range shows what the install buys you over a handheld. If your area has a GMRS repeater, a good install is also what lets you reach it. For how this radio fits a whole trail setup, see the overlanding radio setup.
How we scored this
Radios we claim to have lab-tested: 0
Plenty of radio sites say they range-tested everything they list. We haven't, and we say so. Every pick here is labeled Researched: we read each maker's published specs, manuals and range tables, check the license rules against the FCC, and score every radio on a public rubric. Every figure links to where it came from, and every range number is labeled “advertised.”
Scores are editorial judgments from that documented research, not test results. Commissions never set a score or decide a pick. The rubric and its weights are published.
Questions
Frequently asked
Can I plug a GMRS radio into the cigarette lighter?
Do I have to drill a hole to mount a GMRS antenna?
Where is the best place to mount a GMRS antenna on a car or truck?
Does a GMRS antenna need a ground plane?
What SWR is good for a GMRS antenna?
Do I need a license to install a GMRS radio?
Receipts
Sources
- FCC: General Mobile Radio Service (GMRS) page (checked 2026-09-22)
- FCC: Personal service and amateur application fees (checked 2026-09-22)
- 47 CFR 95.1731, permissible GMRS uses, via Cornell LII (checked 2026-09-22)
- 47 CFR 95.1751, GMRS station identification, via Cornell LII (checked 2026-09-22)
- Midland: MXT575 product page (checked 2026-09-22)
- Midland: MXT575 spec sheet PDF (checked 2026-09-22)
- Midland: MXT575 owner's manual PDF (checked 2026-09-22)
- Midland: MXT275 owner's manual PDF (checked 2026-09-22)
- Midland: MXT115P PRO product page (checked 2026-09-22)
- Midland: MXTA25 Ghost product page and FAQ (checked 2026-09-22)
- Midland: MXTA26 product page (checked 2026-09-22)
- Midland: MXAT01VP Grand Vista product page (checked 2026-09-22)
- BTECH: GMRS-50V2 product page (checked 2026-09-22)
- BTECH: GMRS-20V2 product page (checked 2026-09-22)
- BTECH: Nagoya UT-72G product page (checked 2026-09-22)
- BTECH: Nagoya NMO-HDC product page (checked 2026-09-22)
- Comet: CA-GMRS product page (checked 2026-09-22)
- Rocky Talkie: Whip Antenna for Expedition Radio (checked 2026-09-22)
- Cobra: 19 MINI AM/FM owner's manual PDF (checked 2026-09-22)
We haven't tested the radios on this page and we don't pretend to. Specs and range figures come from each maker's own pages and manuals (linked on every product), and license, power and channel rules come from the FCC and 47 CFR Part 95. Range numbers are the maker's advertised claims and are labeled that way. Prices are set by Amazon and change often, so we don't print them. Where a figure isn't published, we say so. Read the full method.